Pages

Showing posts with label Furniture. Show all posts

6.19.2012

On Pink and White

It's finally done, nearly a year later and my fun, stained, beaten up chair is finally finished!  Remember the before?  Bad fabric, nails and screws everywhere, horrible deep red stain and creaky joints.


This chair had some really great bones though, and ultimately there wasn't anything that a bit of paint, epoxy and fabric couldn't fix.  


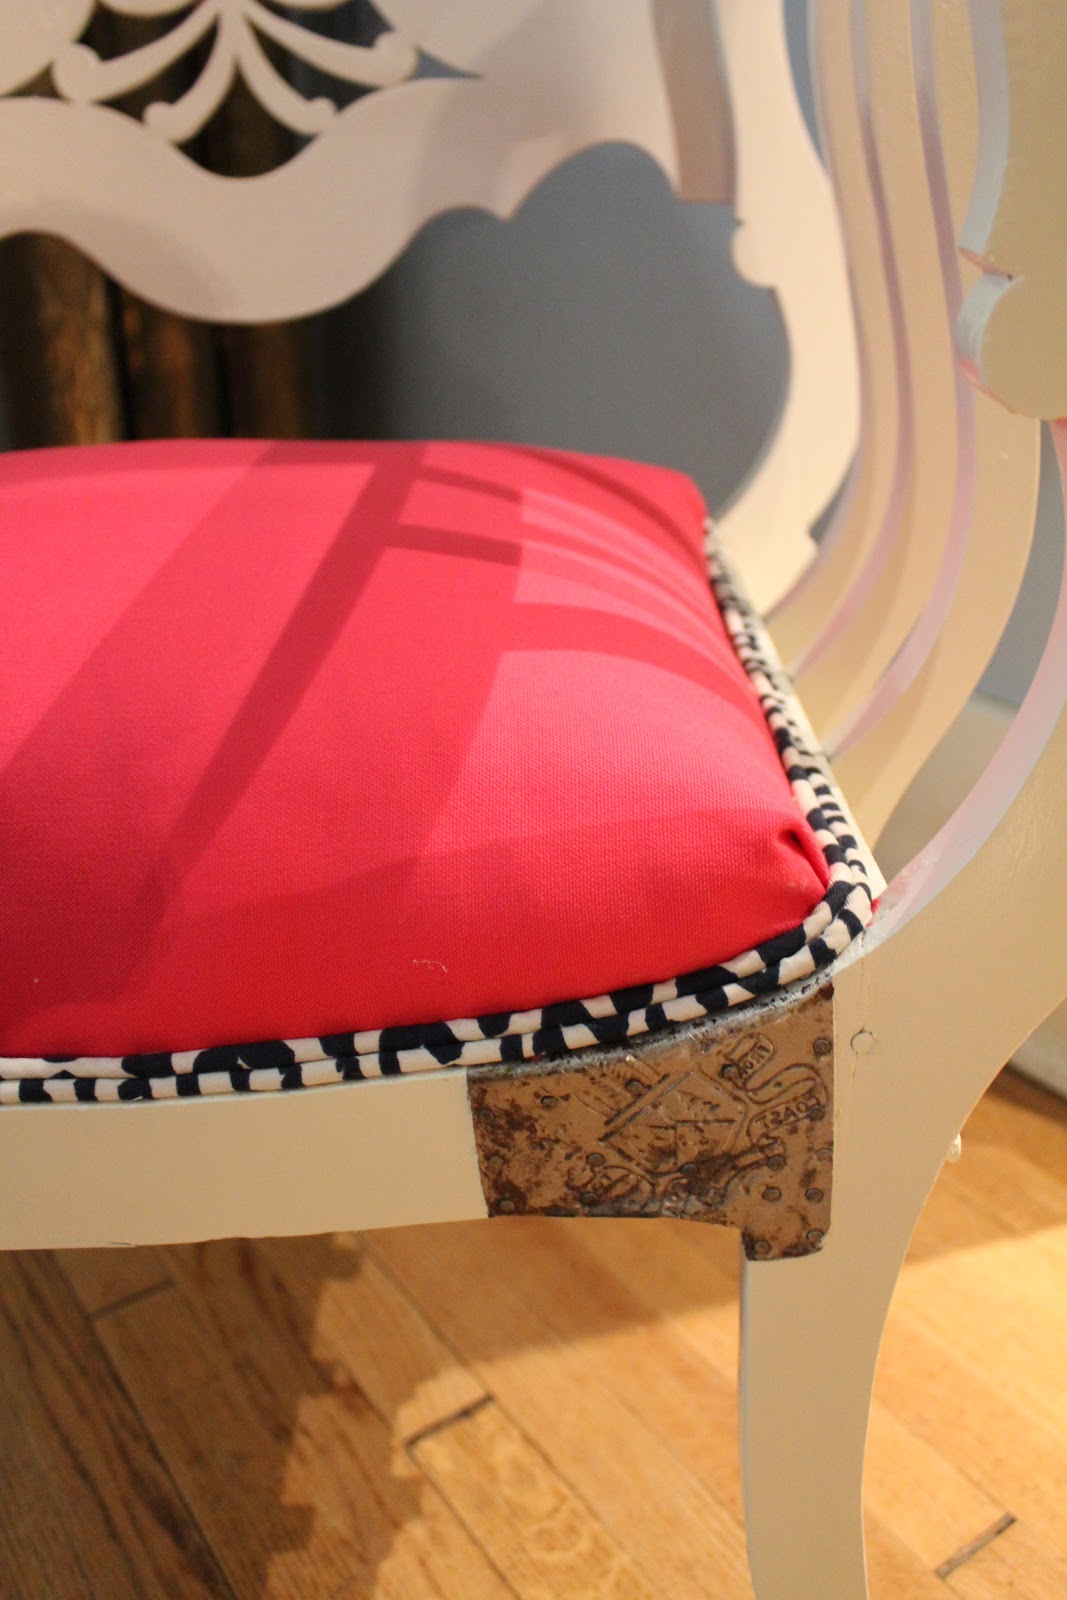
Beyond revitalizing the wood and fixing the joints and some of the cracks in the legs with epoxy and wood putty it was a fairly simple redo.  Can't believe I didn't do it sooner!  

It was also a really budget friendly redo, I managed to get that lovely coral fabric for $2.50 a metre. Crazy!! Plus I finished the edges with leftover fabric from my bedroom lampshades and sewed my own welting. The cording for the welting was about $4.00.  Paint was at a cost of about $6 a can, for 4 cans.  

Since my father in law was amazing and picked up the epoxy and wood putty supplies, then gifted them to me those were free!

Total cost: $30.50

Not too bad for a ramshackle $75 bishop's chair.  I love it, though I haven't quite decided where it's final home will be.

Also for a bit of fun, instead of covering the bottom of the cushion with the usual black mesh netting stuff, I used the last bit of my lampshade fabric.  Waste not, want not, right?


It's our excitement for the day when we need to pick up toys from underneath our furniture.  I'm so happy with the finished project, not to mention just getting it finished felt so good!

6.08.2012

A DIY I didn't do

Were you just "dying" to know what the last DIY project was?  No?  That's ok too.  The best part about this next DIY project was that I can't even take credit for it, because Marc did pretty much all of it.

Remember this fantastic end table with the really horribly beaten up veneer?


We picked it up for $30, and then sanded and sanded until the veneer almost came off of the top.  Basically there was no way to salvage the top and have it smooth if we stained it.  But, since the rest of the table was in pretty good shape I didn't want to paint the entire thing.

So we went half and half, sort of anyway.


Painting just the top and sides of the table really helped make the dark wood on the rest of it really stand out.  We usually use General Paints HP2000 for furniture projects since it is a durable paint made for high wear and high wash areas, we didn't this time and I'm not sure that I love that decision.  We used Behr, and the finish just doesn't seem as durable, I may do a quick once over with some General Paint when I get the chance.

Overall though, I think Marc did a pretty good job!

5.10.2012

The Never Ending Project

Sometimes there are days where I don't listen to my own advice and sometimes it works out great, and other times it results in that one project that just won't end.

A year ago I fell in love with a chair, I spent more than I had intended and I brought it home.  I loved it, but it was in bad shape, really bad shape.

The legs were broken, it was stained badly, it creaked, it wiggled and it had screws in all the wrong places.  But I loved it.  So I told myself I was going to fix it, I was going to paint it, I was going to make it all better.  That was a year ago.

And so I've been slowly plodding along with this chair, working at it from time to time, and I am finally getting close to getting to the point of painting and upholstering it.


I can work with wood, I can make new furniture, I can build architecture models, I can make stuff.  But, I have never worked with old, beaten up wood.  Thankfully my father in law is a wood carver and has an amazing knowledge of wood and how to fix it.  So he has been instrumental in helping me along thus far, and always has great suggestions for what products and techniques to use to fix everything on this chair.

So far I tried to strip off the bad stain, but the wood is in such bad shape that it isn't worth trying to salvage.  I did strip the stain off the metal patch, which I love and am going to keep for sure!  I've also used a wood epoxy to fix up some of the decor that came off.

Slowly but surely it's coming along, now I need to pick some fabric, I was looking at patterns originally but I'm thinking maybe a really bright solid would be nice.  Still haven't fully decided, I need to go shopping I think.


3.21.2012

Dresser Redo - Part Two

It has been a long time coming, but finally one of the dressers is complete!  Mini YAY! In case you forgot what they looked like before our amazing transformation of awesomeness: Dresser Redo - Part One

Now while the dresser is done, the bedroom isn't, so it isn't quite in its natural habitat yet.  But give it time, and then we will have a full bedroom reveal!

Onto the photos!

Remember what I said about neon??

The old hardware stuck around... but with some lipstick.
As my husband stated "it definitely isn't the same dresser anymore."  Stay tuned for the upcoming tutorial and total bedroom revamp!

Also, who doesn't love a baby in sunglasses?

Super Fashion!

3.20.2012

Reclaiming Space

We all have one.  That one room in the house that is a total wasteland.  Full of odds and ends, junk and hand me downs.  The room of collection.

We all walk by that room and sigh.  We know that room could be something great.  But until it then, it stagnates.

My room greets me every time I leave my house, and every time I return to it.  It's the first room visitors see, and its an eyesore.  It's my veranda.

Bikes have taken over my veranda :(
An entire wall of windows going to waste.

The really sad part is that my veranda is awesome you guys!  It is probably the best space in my house during the spring and summer and right now it is just going to waste.

But there is hope, oh yes there is and it starts with two chairs.  I picked them up today and I am so happy!!!

I even love the gold velour!!!
The table my husband and "les boys" made in highschool.  One of my favourites!

So that is where my reclamation of my veranda begins.  With two chairs.  Soon, there will be drapes, a carpet and room for my kiddo to play while Marc and I read and drink tea... or whatever two grown adults are supposed to do on a veranda.  Board games perhaps?

What room is your reclamation room?  Where do you begin to turn it around into a space that you love?

3.12.2012

Dresser Redo - Part One

In the past year that we have been in our house, we have done very, very little in most rooms.  Not because we don't want to, more because we have been focusing on other things in our lives.

Our bedroom though, has become a bit of a sticking point lately.  It's ugly.  Straight up ugly.  Brown, no real storage, awful blinds.  Did I mention ugly?

We have been slowly working on our room, putting together the puzzle pieces really.  We bought an amazing bed from EQ3 that we love, a platform upholstered bento bed.  We have a gorgeous bedspread for said bed.  But everything else is really lacking.  Especially the giant black wardrobe thingy that was in the room when we moved in, it works for storage, but its so ugly it hurts.

So, we recently went shopping for dressers.  The hope was to find a couple of thrift store dressers for a decent price that we could redo into something that we love.  

Our qualifications:
- Modern Lines
- Wood
- Under $200

After only a couple of hours of shopping at thrift and antique stores we found what we wanted!  Two late mid-century styled dressers, and for the low low price of $125 for the set!  The only drawback was that they were finished with arborite, probably 1970's or so.  

But, we fell in love anyway and picked up our new dressers a few days later!


We don't love the taupe and dark brown colour scheme and the brass handles are really starting to wear.  Also, much of the arborite is starting to yellow from years of hands touching the drawers.  So, this next weekend will bring a much needed update in the form of paint!

We are going to keep the dual colour scheme, because that is part of what makes these pieces so fantastic!

Keep checking in for updates!